AI plans every DIY project.
Step by step.
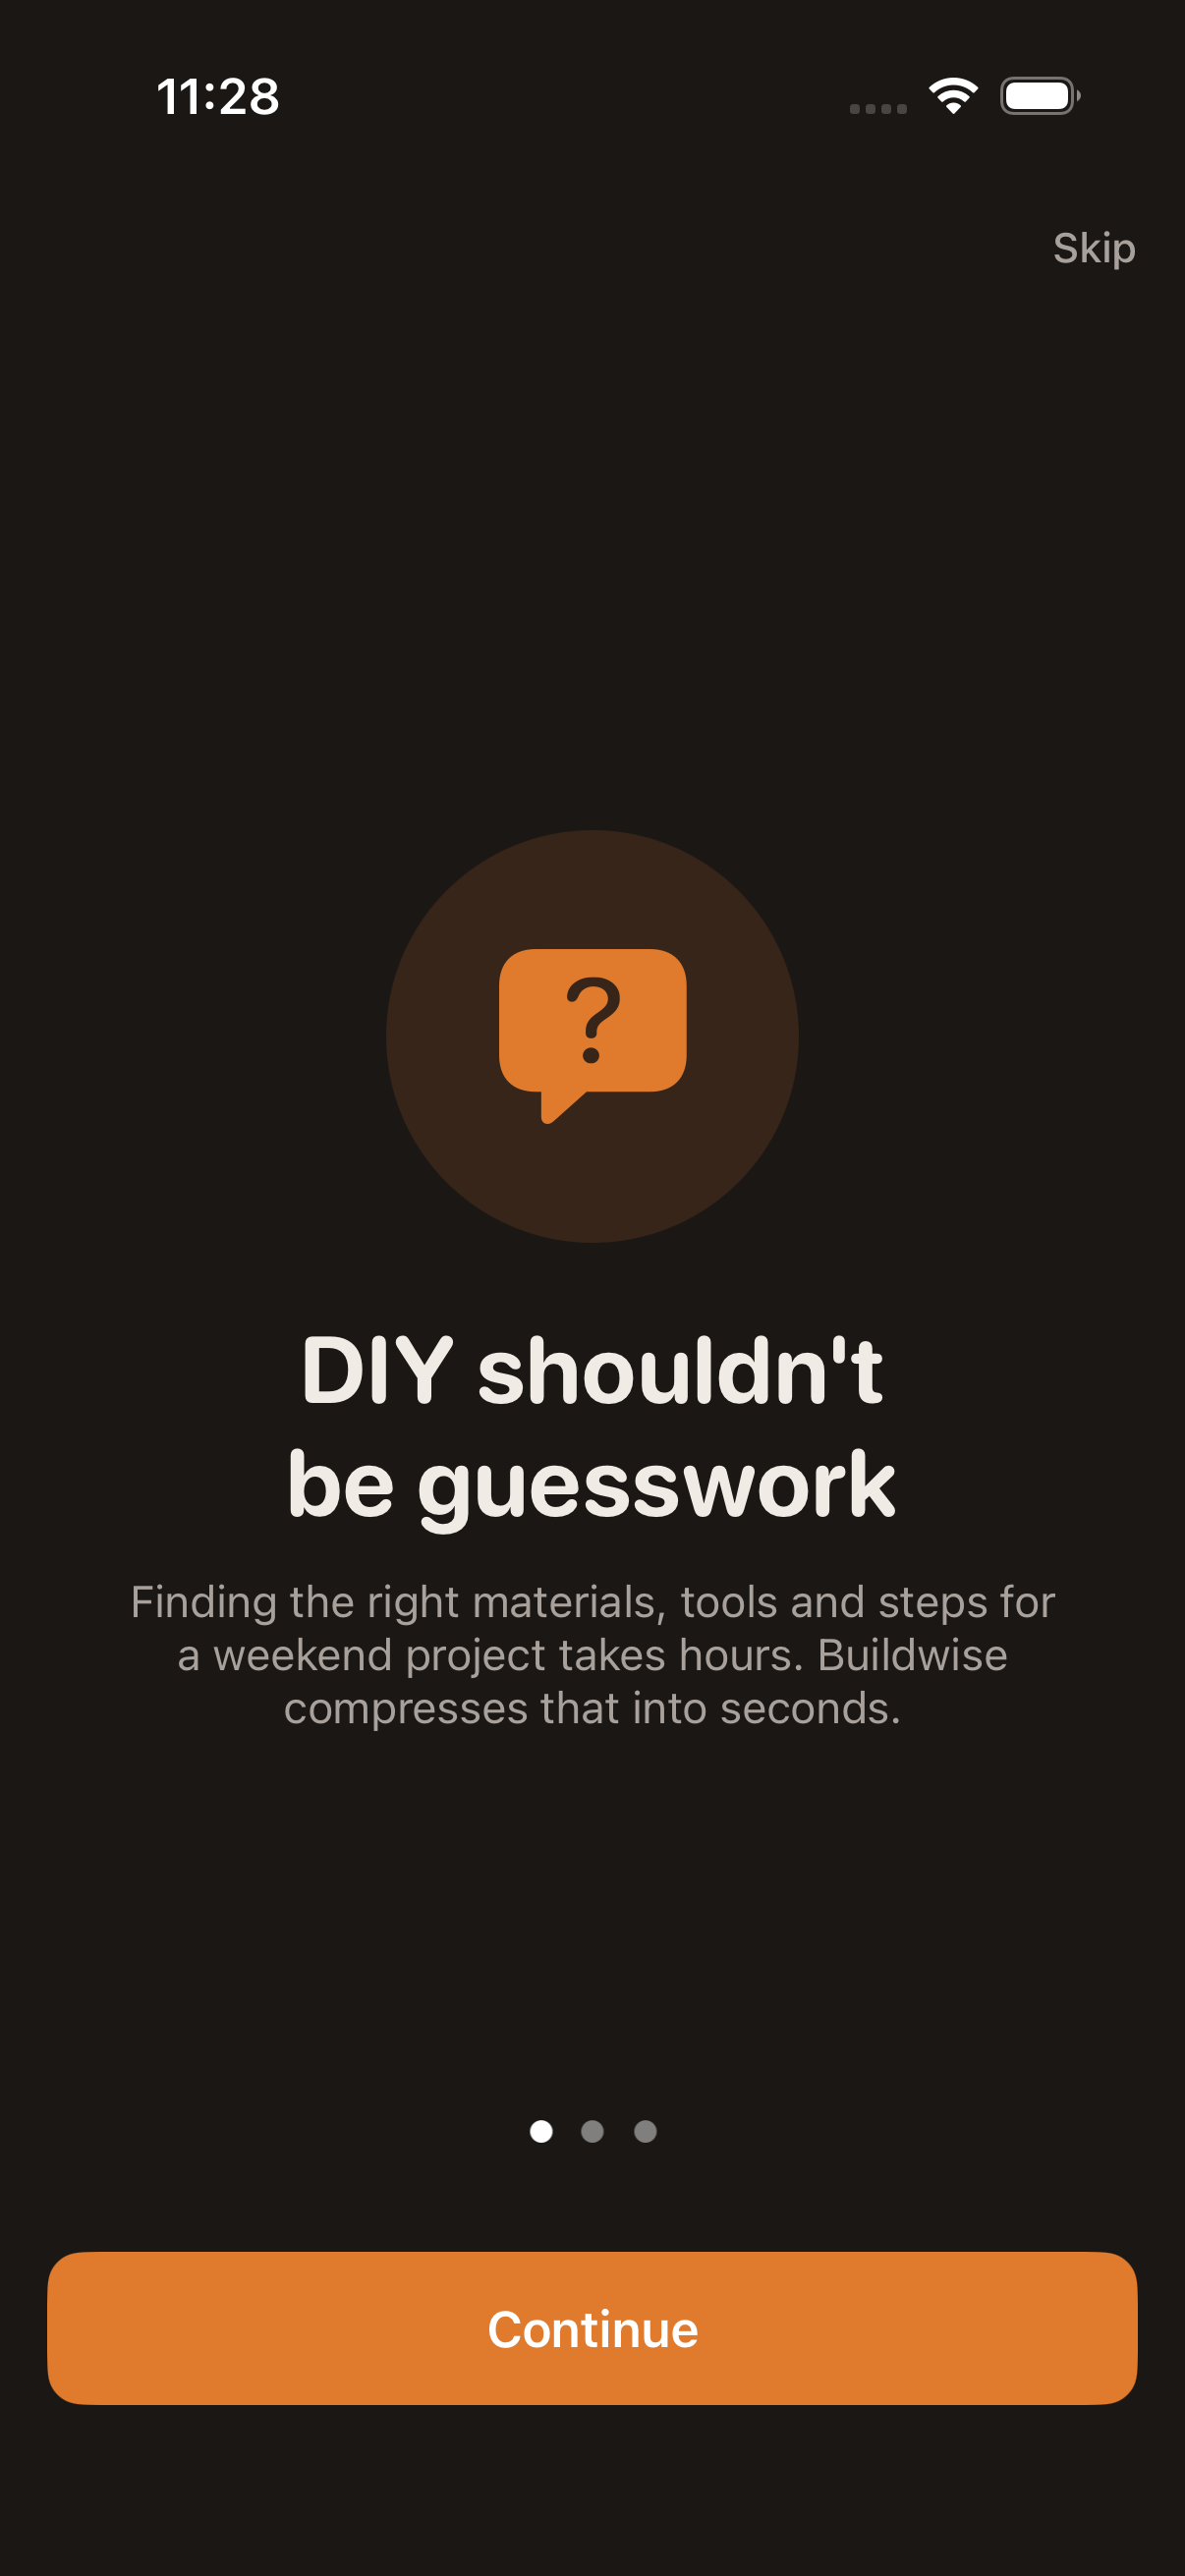
Describe what you want to build. Get a complete plan with materials, tools, and clear instructions in seconds — for free.

Describe what you want to build. Get a complete plan with materials, tools, and clear instructions in seconds — for free.
Live example
A real plan Buildwise generated — same materials, tools and steps you'd see in the app. Tap any "Buy" link to open Amazon.
Prompt
"Build a small wooden toy car ramp for my kid's bedroom."
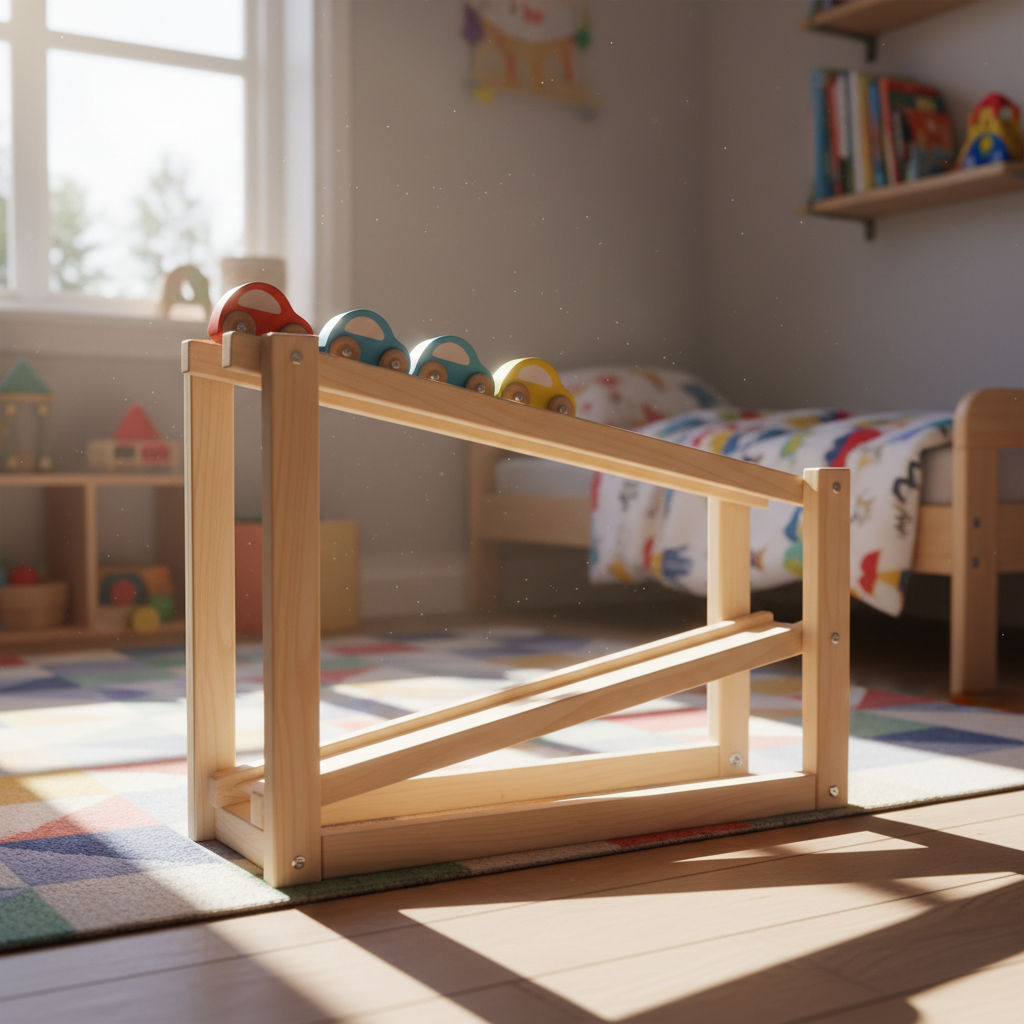
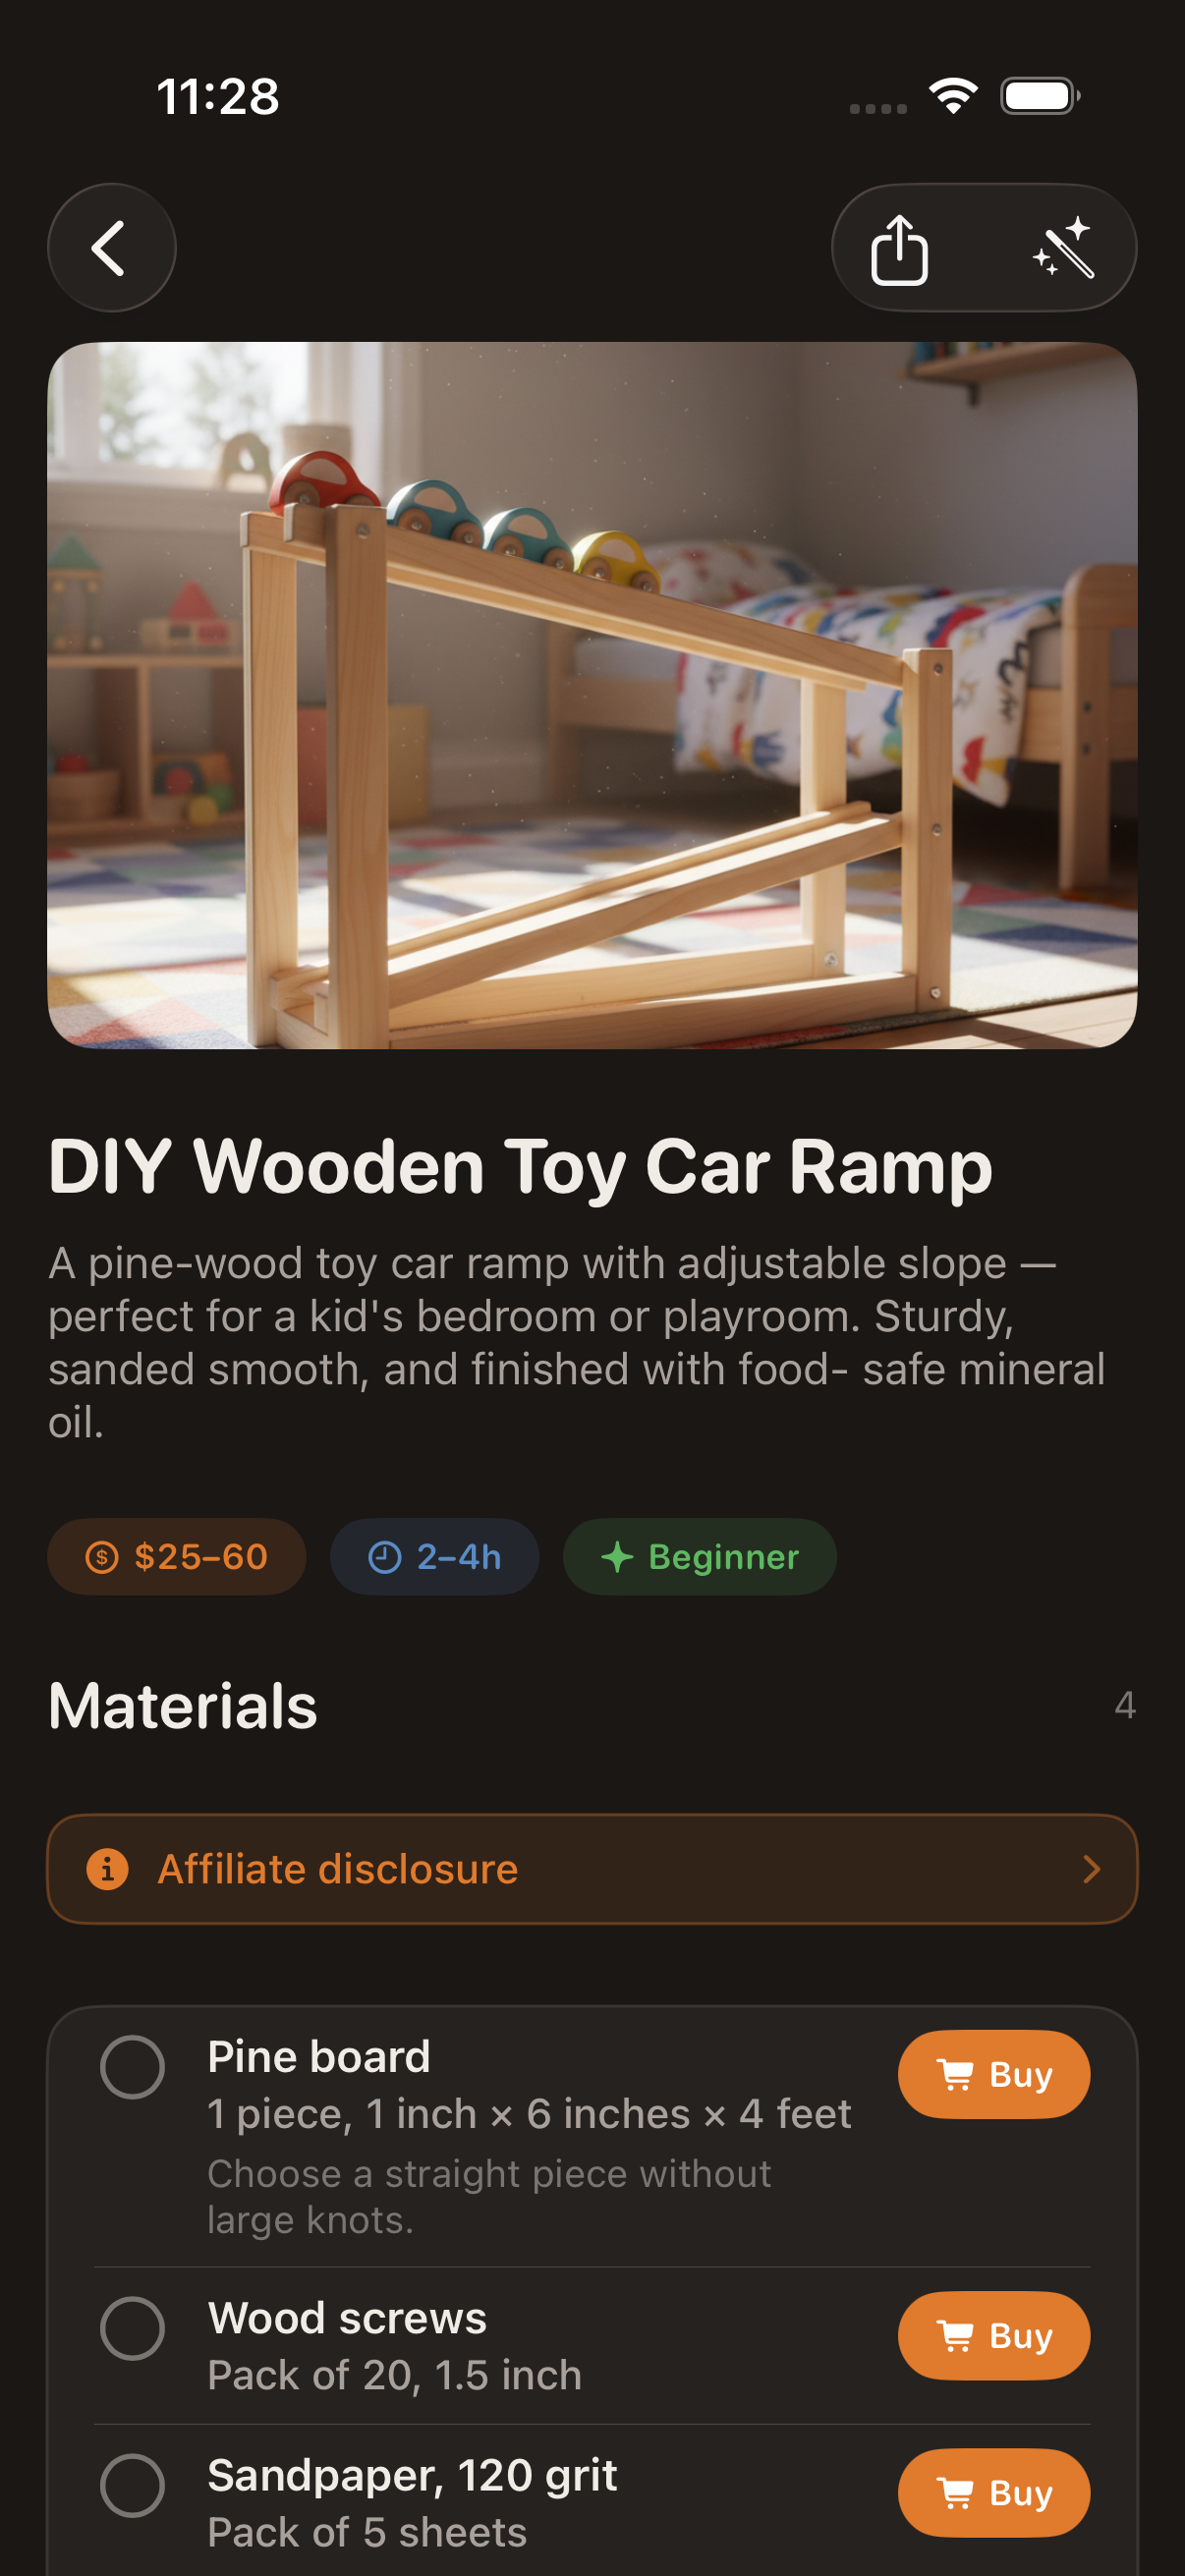
A pine-wood toy car ramp with adjustable slope — sturdy, sanded smooth, and finished with food-safe mineral oil.
Affiliate disclosure. As an Amazon Associate Buildwise earns from qualifying purchases. Tapping a Buy link below opens Amazon with our affiliate tag attached. Commission has no effect on what we recommend — see our Terms.
Pine board
1 piece, 1 inch × 6 inches × 4 feet
Choose a straight piece without large knots.
Wood screws
Pack of 20, 1.5 inch
Sandpaper, 120 grit
Pack of 5 sheets
Food-grade mineral oil
8 oz bottle
Used as a non-toxic wood finish.
Miter saw or hand saw
A hand saw works too — just takes a bit longer.
Cordless drill
Tape measure
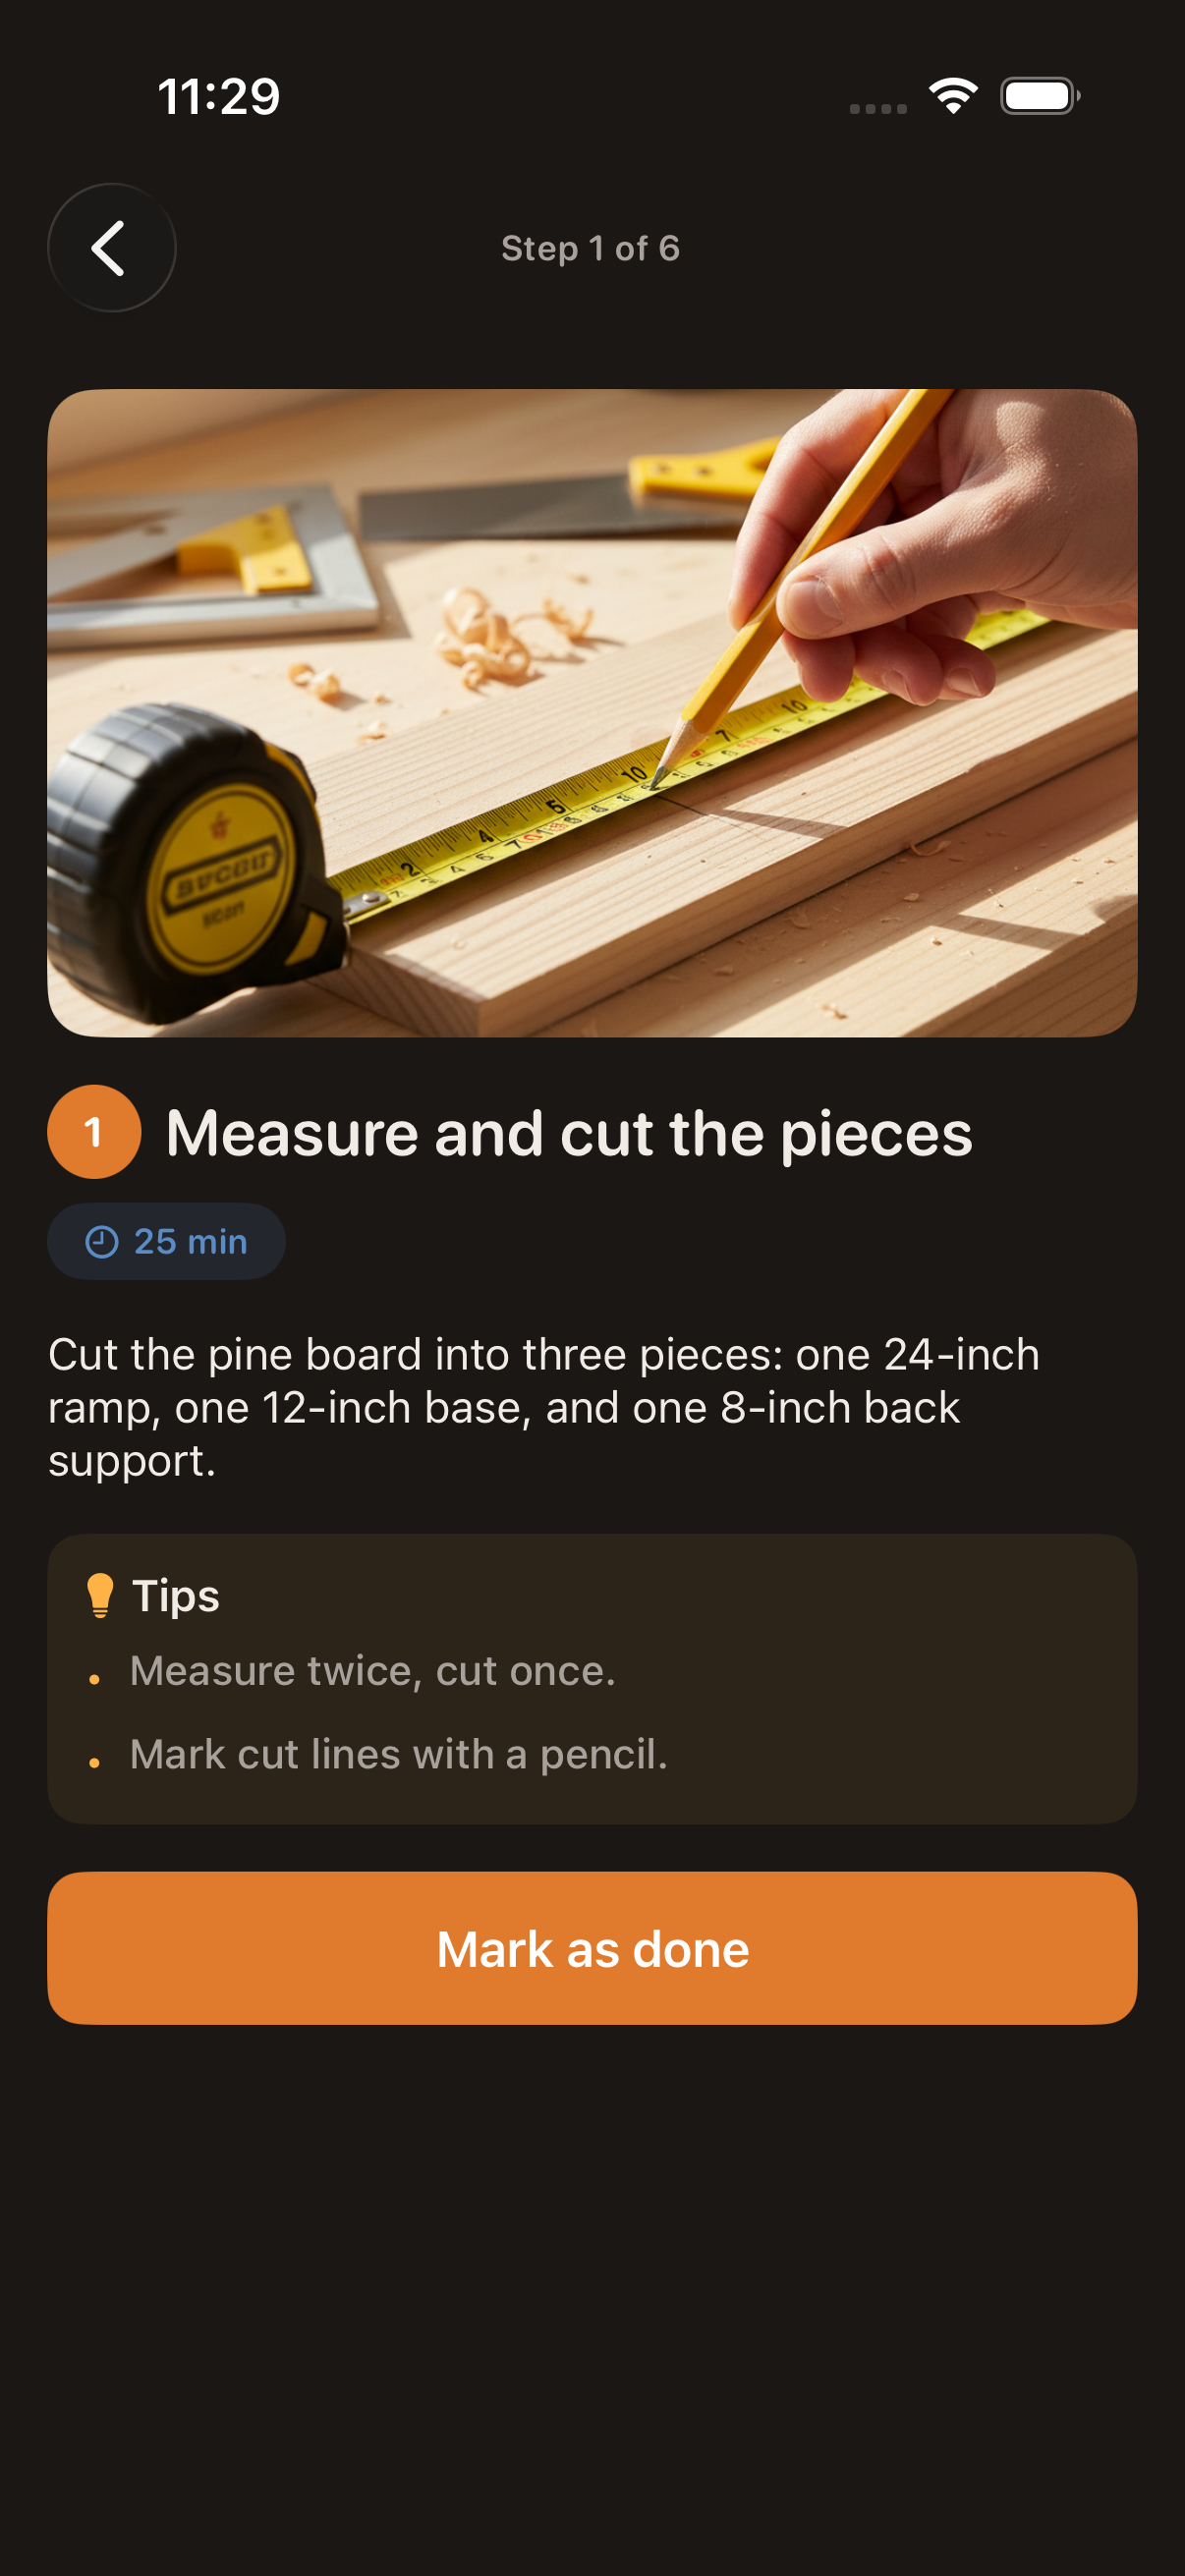
Measure and cut the pieces · 25 min
Cut the pine board into three pieces: one 24-inch ramp, one 12-inch base, one 8-inch back support.
Sand every piece · 30 min
Sand all surfaces with 120-grit sandpaper, paying extra attention to the edges.
Pre-drill screw holes · 15 min
Pre-drill pilot holes at each joining point to prevent the pine from splitting.
3 more steps in the app, including assembly and finish…
Safety
Real screens from the app. From prompt to finished plan in under 30 seconds.
Screenshots from the iOS app running on iPhone.
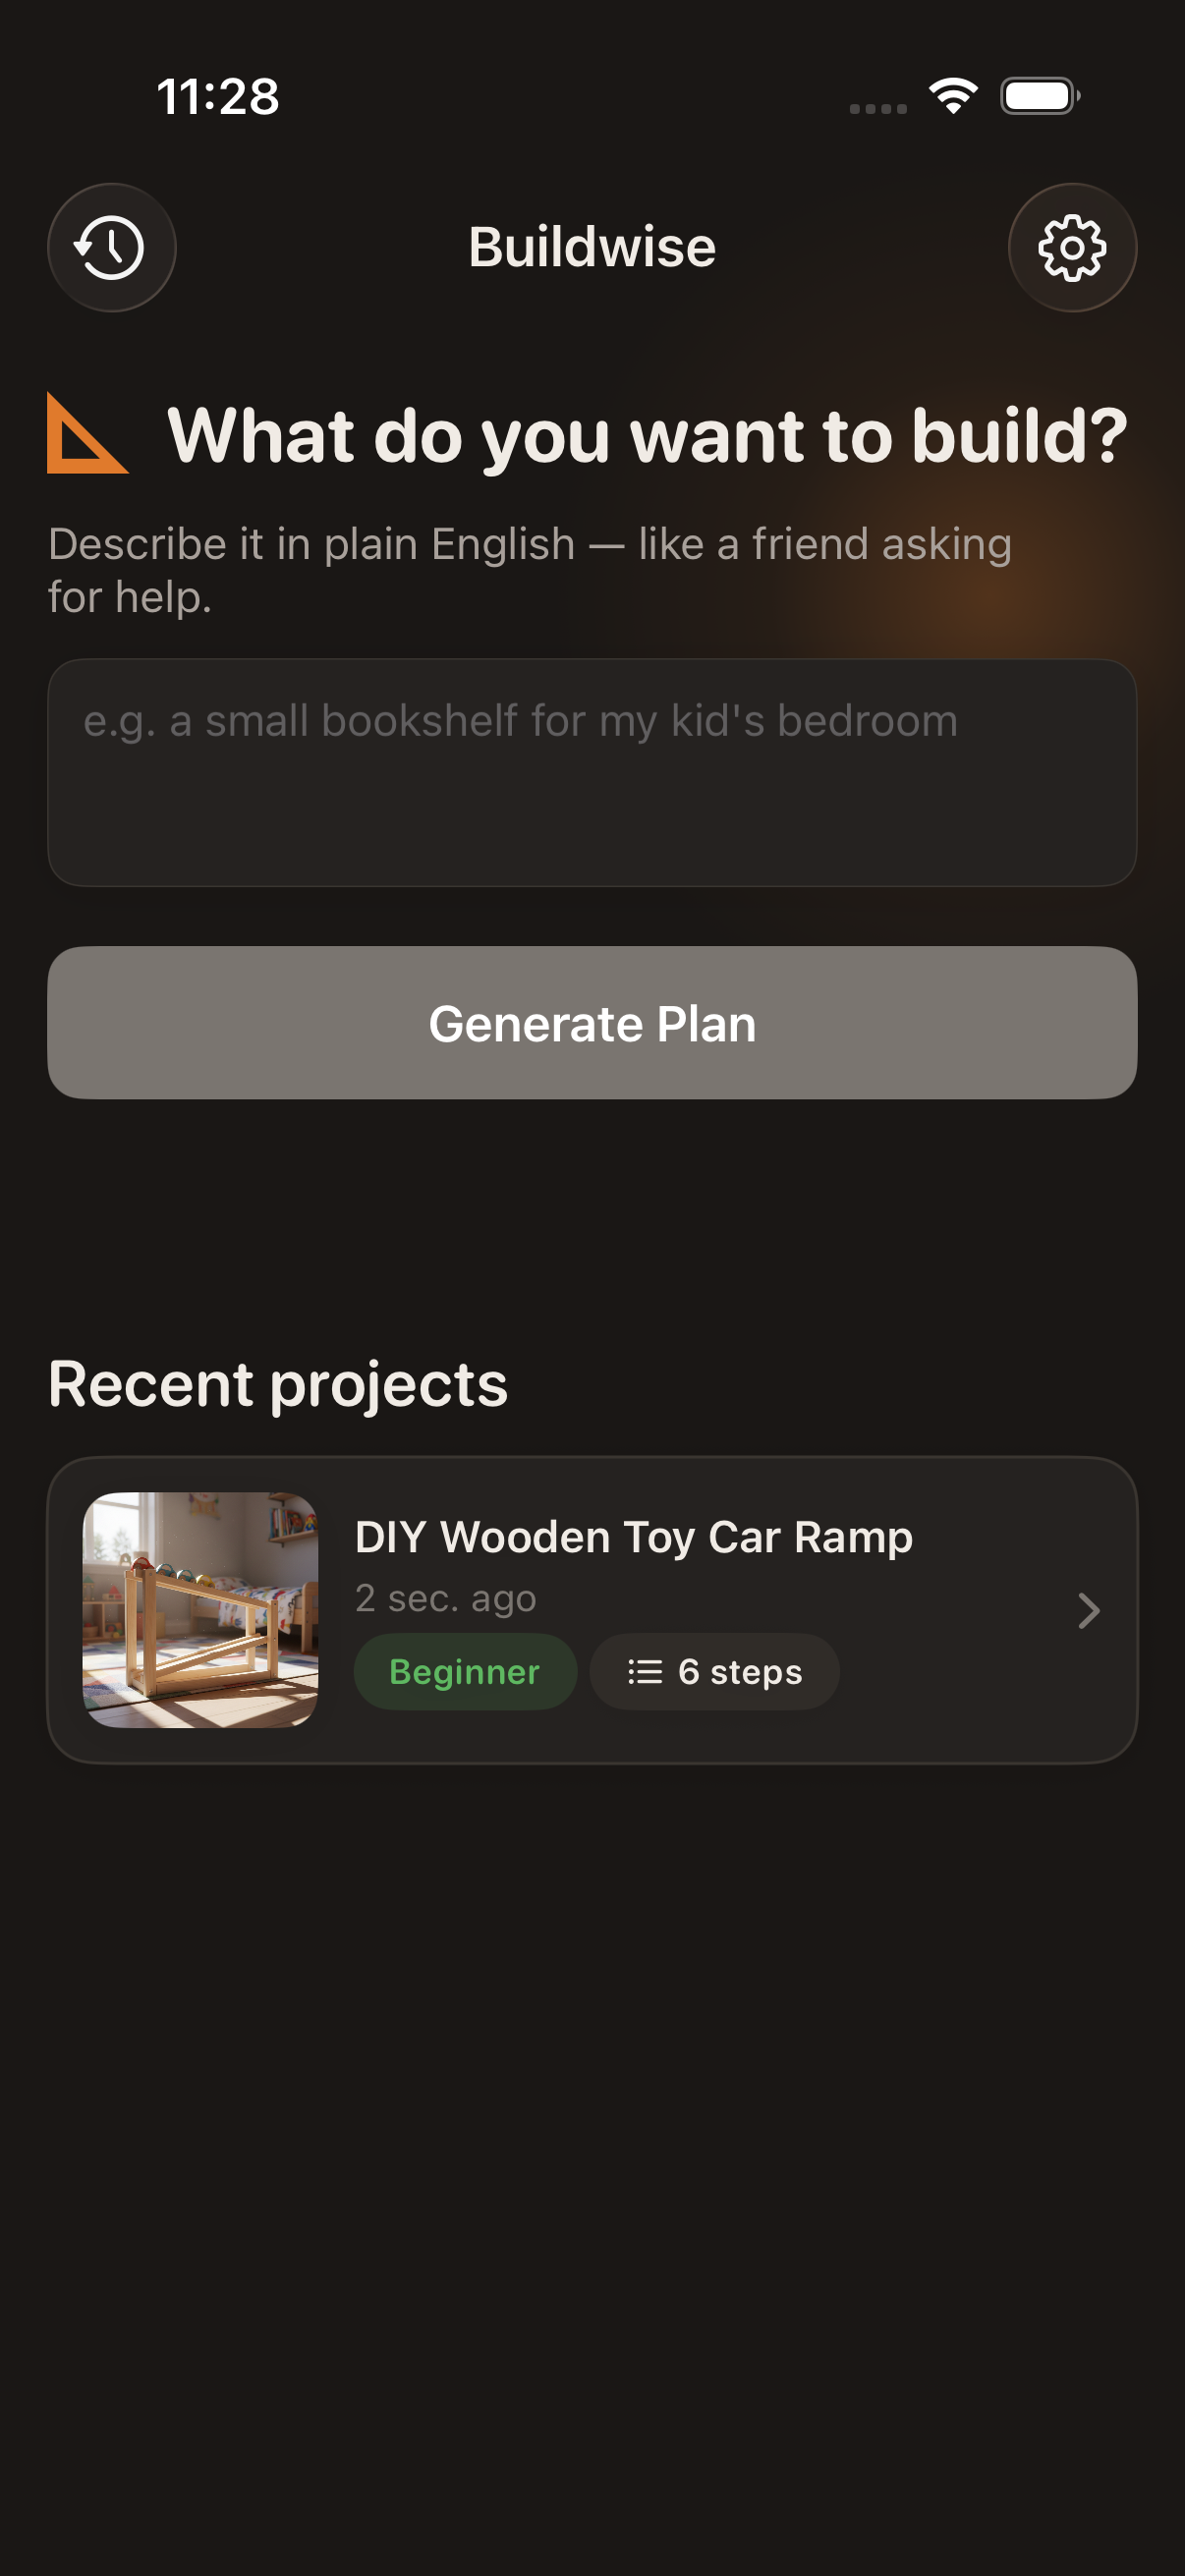
Type what you want to build, in your own words.
In 10–15 seconds, get a complete project plan with everything you need.
Buy what you need and follow the instructions step by step.
Every material and tool has a Buy button. Buildwise earns a tiny commission when you buy.
Plans include relevant safety warnings — power tools, chemicals, heights, sharp blades.
"Make it cheaper", "hand tools only", "24 inches wider" — adjust the plan with a follow-up.
Check off materials you own, mark steps as done. Your build, your pace.
Print your plan or share it with a friend. Materials, steps, photos — all in one document.
10 plans per day, 100 per month. No paywall. No ads.
Yes. There's no subscription, no in-app purchases, no ads. Buildwise earns a small commission when you buy materials via the in-app Amazon links — that's it.
The AI picks commonly-available materials and reasonable steps based on US retail pricing. Always double-check measurements before cutting, follow safety warnings, and consult a professional for structural or electrical work.
Generated plans are stored locally on your device. Anonymous usage analytics help us improve the app. You can wipe everything (server-side too) from Settings → Delete My Data. See our Privacy Policy for details.
Generating a new plan needs an internet connection. Once a plan is generated it's saved locally — you can follow along the build site offline.
iOS first. Android is on the roadmap once iOS has found its audience.